OK let me explain what it is that I am doing here.
1st off I want a small Boat that will get me on the water if I want to be, I have a old 2hp Honda outboard from way back so I have 1 way of getting around on the water.
A sail would be nice (that way I could learn to sail).
Now here is the problem ('s)
1...Every boat on the web with plans and directions on how to build it has a $ sign in the heading.
2...I'm all for what the web was to be ..Free transfer of
information across the planet, not a very big "How to get rich" scheme, OK everybody wants to get rich or just get a better lifestyle and that is fair enough me I just want (at present) a small boat.
So I am going to build a Boat, being that my income is not huge and that I have a few skills picked up over this 48 years of life so far I am going to give it a try.
Come along for the ride if you want or go and get some real plans and real directions and pay some $'s and have some fun (both in the build and in the or on the Water).
So what do I want in a small boat?
Something that floats would be a good start, easy to carry (LIGHT) about the 8ft mark (less sheets of ply and no scarfing) motor, row or sail, Row is out for me as I buggered both my arms a few years ago and even after surgury I still have limited use of both.
Now I have built a few plywood projects before (well 3 Teardrop Camper Trailers)(one is on the web like this and when I find the link I will post it for you) and I did work in a boat yard for about 18mts about 20 years ago.
Another thing is that even with Global warming water is still shallow in a lot of places so I don't want some drop down Keel (centerboard) so I am giving this boat 5 keels so as it leans over in the wind at least 2 or 3 of them will still be in the water and the Main 1 will only be 4in's deep, but any 3 will have a larger surface area than some dagger hanging 2ft under the boat.
Yes if you get it to the point of only 1 left in the water you will be well on the way to getting very wet.
The bottom of the boat will be slightly concave so as to act in conjunction with the keels as a way of getting air under the boat when in motor mode to help a small motor get on the plane.
The front of the boat is 1 big air pocket (with holes to let the water out) full of little airpockets or in this case 1.25l Plastic bottles so it cant sink ( so start saving if you are going to follow this build).
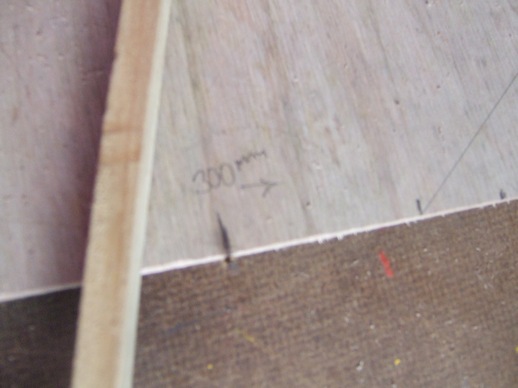
You will need 3 sheets of Marine ply ...2 x 4mm and 1 x 12mm. all 8ft by 4ft.(1200mm x 2400mm)
My local hardware had a choice of either Meranti or Tassy Oak for the rest, I went with the Meranti as it is light and will bend WITHOUT A STEAMER as there are some neat bends in the ply to give it a nice Bow along the lines of the small sailing prams on the web.
There is about 2ft of stitch and glue in this design (but that is only to hold it together till the main Keel goes on).
And there is a new glue out there that goes off with moisture? yep you have to wet the wood before you put on the glue ( sounds OK for a boat :) ).
Now at this point I am designing the boat as I build so Drawings will come later. (not in this post)
There is no fiberglass in this boat it is to be plain old paint and look after it.
You can if you want Glass the bottom if you want or all the whole thing but that is just added weight in my eyes and defeats the design ideas.
At this point I have built the bottom and even got as far as a good coat of primer-undercoat and now I am playing with the sides.
Yes I have made a few mistakes but that is part of the learning curve and you will get to see them ( WARTS AND ALL ).That means you can miss out on some of the F*##$#% Bugger type language.
Oh and I gave her a Tumblehome Transom like those great Italian motor boats. (may help if I ever need to paddle as the top (gunnel) is just a bit closer.
Seat ...? ...well I plan to have a small one that runs lengthways so I stay in the middle (I don't want to swim if I don't have too).
So this is the first post (RAVE)..I will more than likely edit this at some stage who knows?


 I also gave it a Tumblehome, This 1 is very pronounced as it is centered on the center of the bottom of the sheet, if you would like you can go straight up for the sides ( this may make the gunnel a bit weak as there is no strength in untorched ply) or if you like a less curve run your Tumblehome arc from the far side ..(again this may be weak).

 So now I will put on the Main keel
 I used a spray bottle to get the joint wet gave it a few seconds and then just ran the glue along the joint after a while it starts to foam up and even pushed the tape on the underside away from the joint.


 This will go off hard as nails but will cut and sand and paint.
 Now there is no Strong back to build this boat on, the idea is that the bottom sheet of ply when cut and braced with the keels will hold the whole thing together .
 So I missed the photo of the saw cut (sorry).
 Make the holes just big enough to take the zip ties.
